Slit-scan Renders of Videos in JavaScript
I’m finally catching up with my backlogs at work and at home, which means I get to work on some side projects again. Let’s start with something cool this week: slit-scans in JavaScript.
Tags: demoscene graphics javascript slitscan
Overview
I met a group of talented artists and programmers from the demo scene at FMX 2015 this year. One afternoon, Thomas Mann from Framefield and Michael Sänger from Mercury were looking at a picture that caught my eye. It was a time sliced rendering of a demo with interesting visual patterns.
I have since been wanting to implement this effect in JavaScript to process arbitrary YouTube videos and see how they would look. It turns out that this is not feasible yet (or not anymore) due to the security measures that are in place to prevent cross-domain JavaScript attacks, but I still went ahead and implemented it for local video files on my computer.
You can try out the tools for yourself at the end of this post.
Slit-scan Photography
A quick search on the web revealed that the picture we saw was generated using a technique related to slit-scan photography, which has been around for a long time and was used to great effect in Stanley Kubrik’s iconic movie 2001: A Space Odyssey. The idea is to create static images of time-based phenomena by using a camera with a static or movable slit in front of it.

For more details on the science and history of the slit-scan effect, you should check out the video tutorial made by FilmmakerIQ.
Dan Marker-Moore has a pretty cool gallery of time sliced photography that he captures and stitches together by hand in Adobe After Effects.
Golan Levin maintains a catalogue of slit-scan video artworks and research that contains some interesting variations of the technique in film.
Slit-scans of Videos
The following images are partial slit-scans that I produced from some of my favorite demoscene videos on YouTube. If you haven’t watched those yet, I strongly encourage you to check them out.
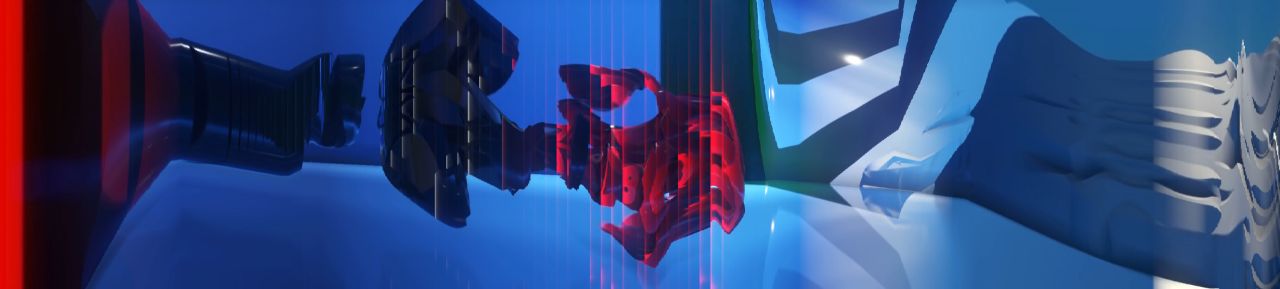
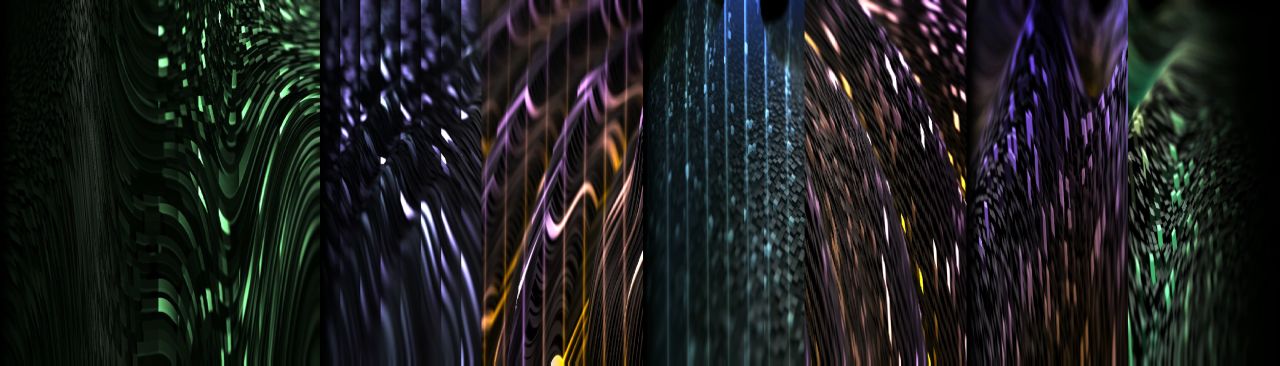
The first set was taken from On by Mercury, arguably one of the best demos this year. Is it 2D, 3D, or both? Perhaps I will find out some day. Either way, it has trippy graphics that also look great when stretched out in time:


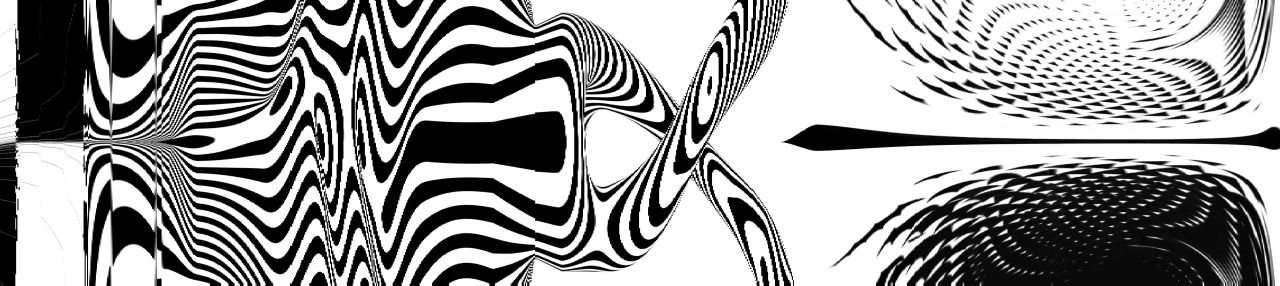
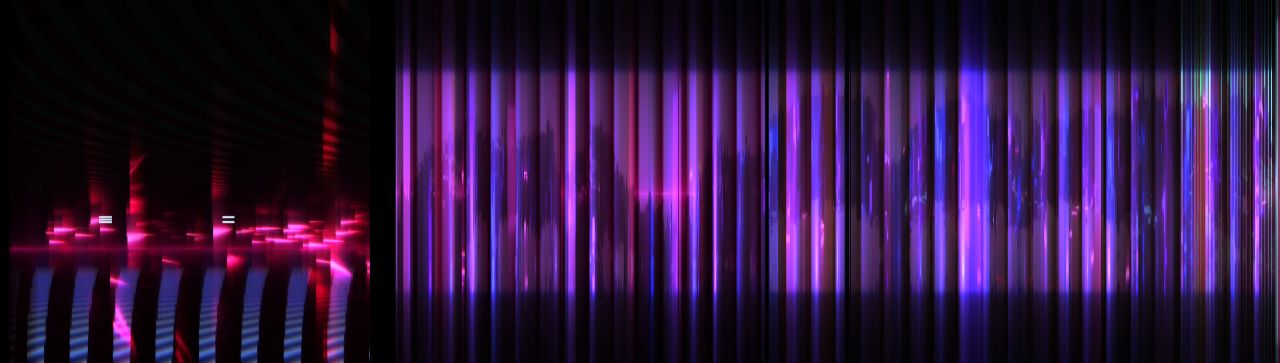
Another favorite of mine is Intrinsic Gravity by Still because of its elegant minimalist look and sound. The procedural black and white animations in the first half of the video produce interesting Moiré-like patterns, while the second half generates colorful distortions:
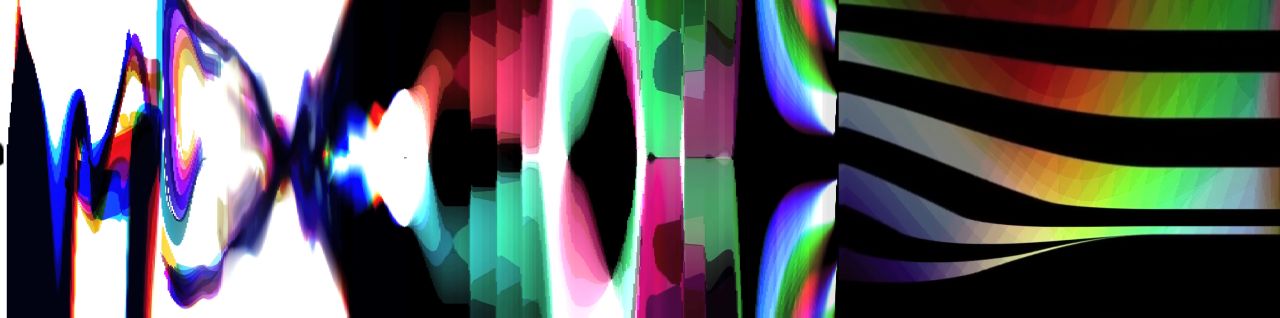
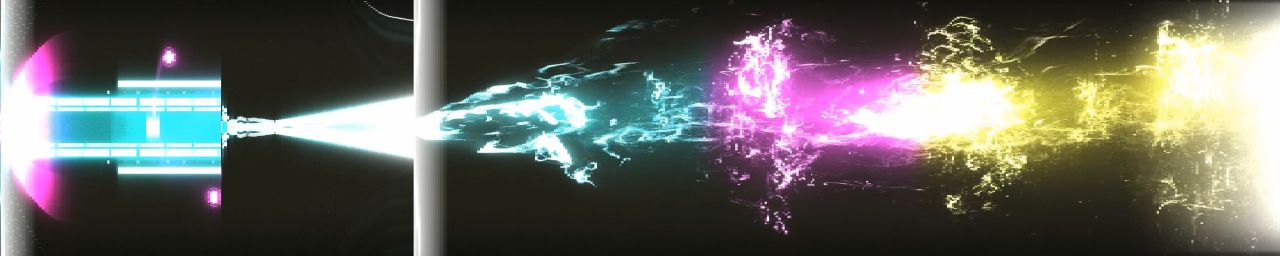
Then I wanted to try something with particle systems, and the Artifacts demo by illogictree produced interesting effects. My favorite part is the one that looks like a high-power energy beam burning through a sheet and ejecting a smoke trail that changes from turquoise to pink to yellow:

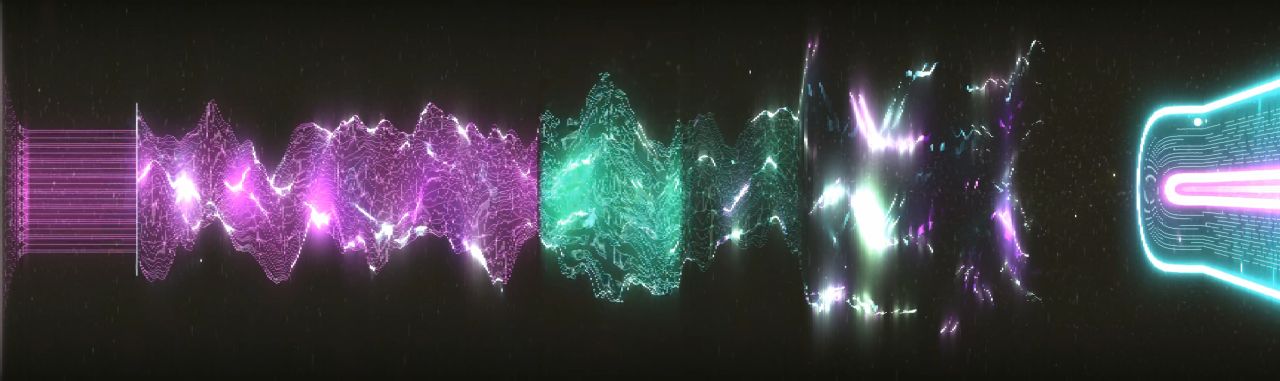
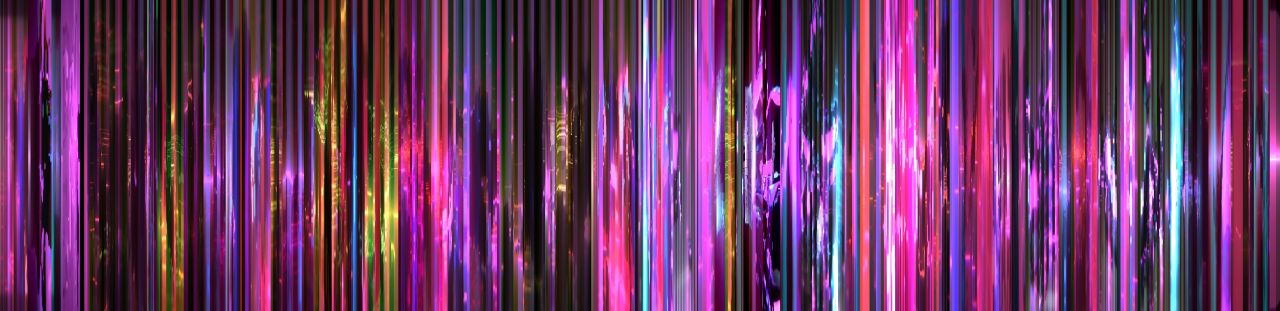
High-frequency animations result in pretty chaotic images that tend to blur individual objects and cut scenes. Taking this one step further with Ziphead by CNCD & Fairlight, you realize why the demo starts with an epilepsy warning:

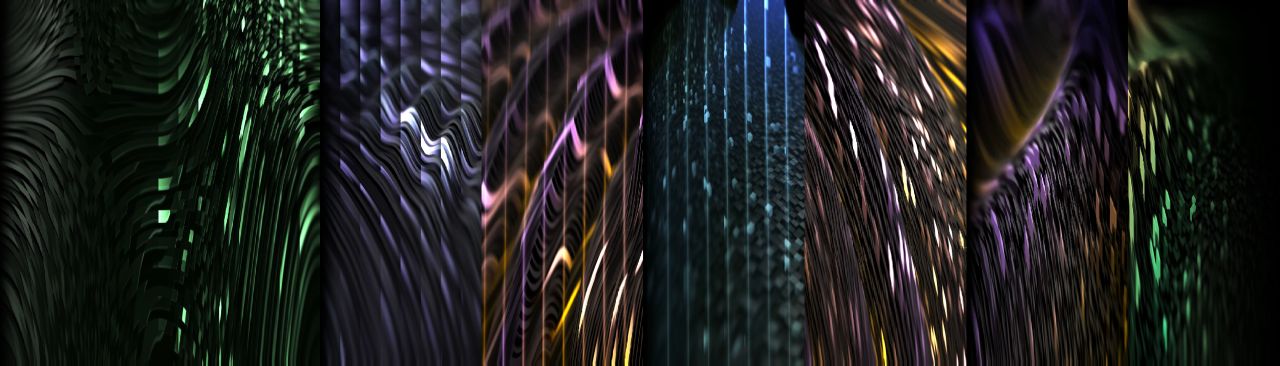
If particles move slower, as in the Tilescapes demo by Digital Dynamite, some of the video’s original structure is retained and blended with cool looking swirls and vertical streaks from flashing light sources. The first shot was generated with a stationary, the second with a sliding slit:
In Die Edison, Die by headcrash & ADDiCT, the slow moving particles are combined with various camera effects that don’t leave much of the original experience, neither with a stationary, nor with a moving slit:


The same holds for the stylistic graphic design in Party Heart by 5711:
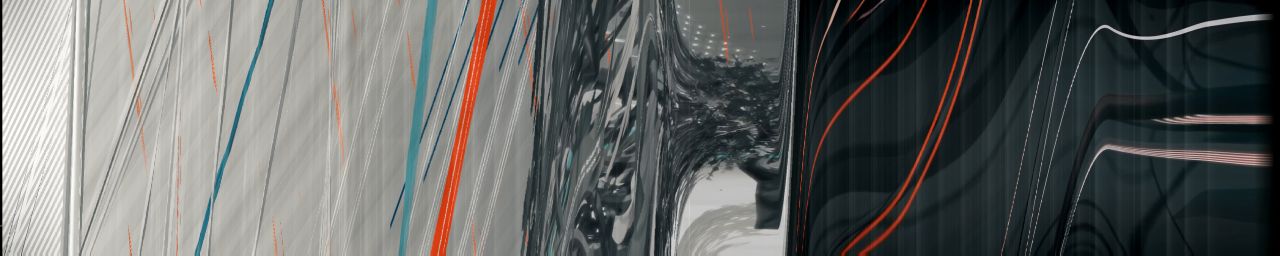
Cuts and film transitions tend to be very obvious in slit-scan screenshots. Videos like Photon by Fairlight and Blazar by Digital Dynamite demonstrate this most strikingly:


Taking It One Step Further
As we saw above, the most interesting results can be obtained with videos that are free of transitions and have high inter-frame coherency. The Coronoid demo by Still is a great candidate for further experiments.
While the first third of the video does not lend itself to the slit-scan technique due to fast-moving and pulsating objects, the other two parts yield spectacular images reminiscent of wormholes and dreamscapes:


In both sets I experimented with different offsets for the slit position. Explosions and shock waves show up as bright streaks:


Due to the spatiotemporal relationships between the images I figured that the next step would be to render out all possible slit positions and combine them into a new video. I created a modification of my tool that would allow me to do that.
Generating this much data (250-300 MB for the videos below) in JavaScript is quite tedious, but the results do not disappoint:
You can find these and other videos on my YouTube playlist.
Try It Yourself
Finally, it’s time for you to generate your own slit-scan images and videos. I created separate pages for each of the tools where you can find instructions, as well as links to the full source code on GitHub:
The Slit-scan Images in JavaScript tool allows you to create static slit-scan renders as seen in the first part of this post.
The Slit-scan Videos in JavaScript tool allows you to capture the frame images that are needed to create the videos shown in the second part.
Related Resources
After I finished this post, I found slitscan.js, a JavaScript-based bookmarklet for slit-scanning videos. I haven’t tried it yet and don’t know if it still works.
There are various online tutorials for creating slit-scan images in other software tools, for example After Effects, MATLAB, OpenFrameworks, Photoshop and Processing.
Some people build or integrate specialized hardware devices into their slit-scan projects. The Time Machine uses a motorized table to photograph real world objects. Nova by James Alliban uses a Leap Motion sensor to control the camera with his hands. Cameron Adams created a browser-based slit-scan experiment for webcams, and Nathaniel Stern built an underwater rig and custom software to create slit-scans from corals and fish.
The tools that I created for this blog post only create horizontal slit-scans, but there are other ways to scan and recombine the pixels, for example vertically, in circles, or mapped to cylindrical or spherical coordinates. I like Erik Boertjes use of space-filling curves to arrange the results of very long scans into rectangular textures.
There are also at least two iPhone apps for slit-scanning: Slit-Scan Studio by Trevor Alyn, and Slit-Scan Camera by FunnerLabs. For Android there is Slit Scan Camera by Jan Rychtář, and the Windows Store has Long Shot.